


Components and supplies


Tools and machines

Apps and platforms
Project description
Introduction
I would have liked to make multi-level titles (h2, h3, ...), but the Arduino's Project Hub editor doesn't allow it. The project discussion is placed after a series of useful insights about Arduino, python and MIDI protocol.
Arduino boards uses $ MIDIUSB $ library to interact as MIDI devices. Python scripts shown below use $ mido library $ to interact with MIDI devices. You should install the required libraries with a tool like pip by pasting the following commands on a Terminal window:
pip install mido
pip3 install python-rtmidi
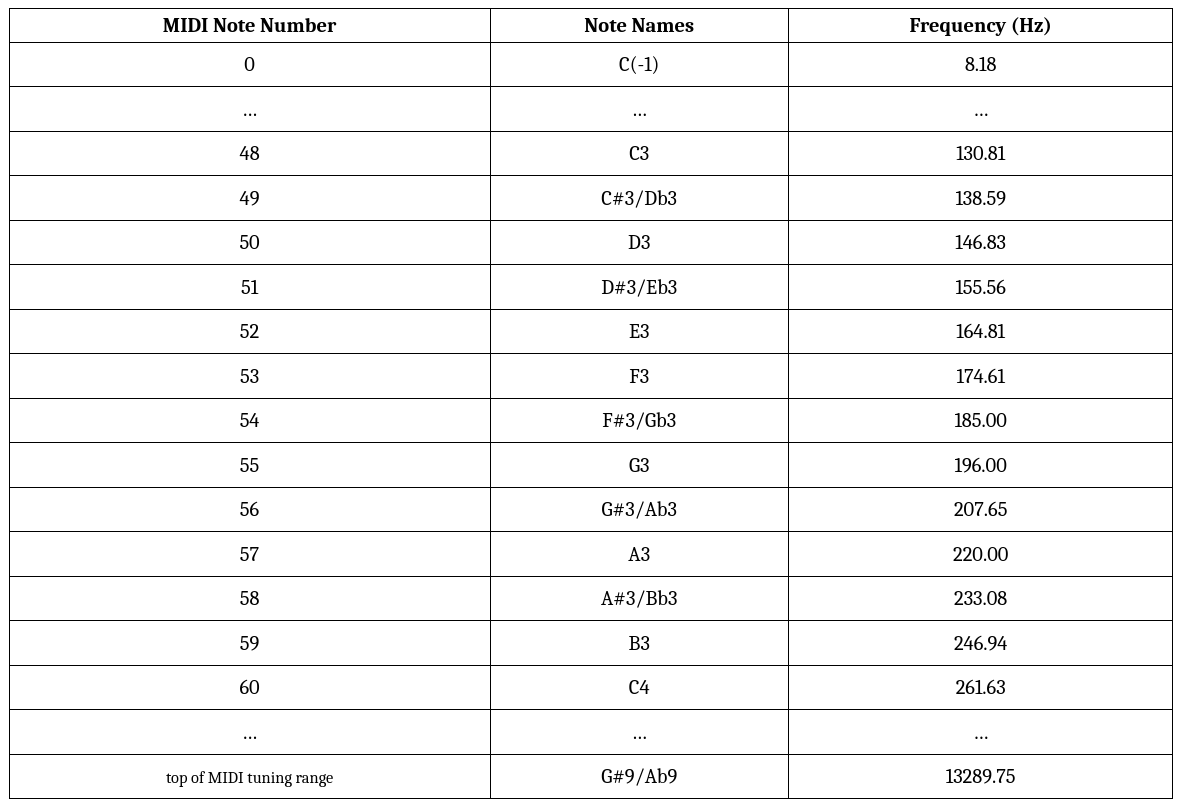
Intro ~ MIDI Notes Number
Notes number ranges from 0 to 127 (which is the range of seven bit data). These numbers relate directly to the note to be generated. The octave is indicated after the letter note name but to confuse things a bit, middle C on a piano (which is indicated by the MIDI note number 60 ) is sometimes designated as as C3 and sometimes as C4 , depending on the manufacturer.
The frequency is evaluated assuming equal tuning based on A4 equal 440 Hz :
f = 440 * 2^((n-69)/12)
Operation ~ MIDI Write
Select USBMIDI_Write sketch on the section below and upload it on the Arduino board. You should now navigate to VMPK settings: "Edit", "MIDI Connections". Select ALSA as "MIDI IN Driver". You should now be able to select your board within "Input MIDI Connection" drop-down menu.
You can also test it by running read-MIDI-device.py Python script.
The Arduino board is capable of sending MIDI notes acting as a real MIDI instrument!
Operation ~ MIDI Read
Select USBMIDI_Read sketch on the section below and upload it on the Arduino board. Run write-to-device.py script to test the Arduino board as input MIDI device.
The Arduino board is capable of reading MIDI notes acting as a real MIDI manager.
Project Idea : You can light-up different LEDs of different colors (in case of RBG) based on the received MIDI note.
Operation ~ MIDI Loop
Run both write-to-device.py and read-MIDI-device.py Python scripts, then upload USBMIDI_Loop sketch on the Arduino board. The MIDI notes are being sent to the board and written back to the reading script.
The Project ~ MIDI Keyboard
Within Downloadable files section, take a look at project schematic. I've bought some fancy colorful tactile switch buttons. They make the project looks so cool!
Upload MIDI_Keyboard sketch on the Arduino board.
Every switch button corresponds to a MIDI note on the keyboard, from C3 to C4 . You can now play around and have fun with the virtual piano. The examples above uses VMPK software to test the board's MIDI capabilities. You can use this project with any software you want. I personally use it with Ardour 8 to perform live music!
Project Idea : You can change the code in order to play a whole chord with a single switch button!
Code
write-to-device.py
python
Write MIDI note n°60 ON and OFF to USB device
read-MIDI-device.py
python
Read from MIDI device.
Downloadable files
Project Schematic
Project Schematic with Arduino MKR WiFi-1010

Documentation
MIDIUSB
Allows Arduino act as a MIDI instrument over USB.
mido
Working with MIDI messages and ports.

0 Reviews
Your rating